The Henry Approach to the Radius, Step by Step: Planes, PIN and Radial Artery
The Henry approach to the radius step by step: the internervous plane, the radial artery and its leash, the PIN in supination, and the modified Henry trap.
By OrthoVellum Editorial TeamPublished 13 min read
Educational content for clinicians, not medical advice. Editorial policy
Key points
- The Henry approach runs between brachioradialis (radial nerve) and pronator teres proximally or flexor carpi radialis distally (median nerve): a true internervous plane that can expose the whole radius.
- The radial artery is tethered laterally by its recurrent and mobile-wad branches. Ligate them and the artery moves medially; the superficial radial nerve stays lateral with brachioradialis.
- Rotate the forearm for each level: supinate to release supinator and move the posterior interosseous nerve away, pronate to show the pronator teres insertion, supinate again for FPL and pronator quadratus.
- Supination reliably protects the PIN only while the radius is intact. In a cadaver osteotomy model, rotation moved the nerve 2.13 cm before the osteotomy and 0.24 cm after it, so expect to find and protect the nerve in proximal fractures.
- The classical Henry passes radial to the radial artery; the modified Henry (FCR) approach to the distal radius passes ulnar to it. Name the interval you mean.
On this page11 sections
The Henry approach is the anterior exposure of the radius, and examiners like it because three named structures cross its path: the radial artery, the superficial radial nerve and the posterior interosseous nerve (PIN). The question in theatre and in the viva is the same: which side of the artery do you go, which way does each nerve go, and how should the forearm be rotated at each level? In short, you work radial to the artery and move it medially, keep the superficial radial nerve lateral with brachioradialis, and supinate before you touch supinator. Fracture decisions are on the adult forearm shaft fracture topic page.
What is the Henry approach?
Arnold Kirkpatrick Henry, an Irish surgeon and anatomist who worked for many years in Cairo, presented the approach briefly in 1926 and described it in 1927 in Exposures of Long Bones and Other Surgical Methods, the first textbook of surgical approaches. His 1945 book Extensile Exposure Applied to Limb Surgery set out the principle the approach depends on: work between muscles supplied by different nerves, and the exposure can be extended without denervating anything.
The approach can expose the whole length of the radius, from the proximal third to the distal metaphysis, through one extensile line. The site's operative guide lists its main uses as radial shaft fractures, the radial side of a both-bone fracture, nonunion and malunion, synostosis take-down, osteotomy and tumour excision. The AO Surgery Reference notes one cost: a Henry scar in the proximal forearm (opens in a new tab) may be more obvious.
Positioning and incision
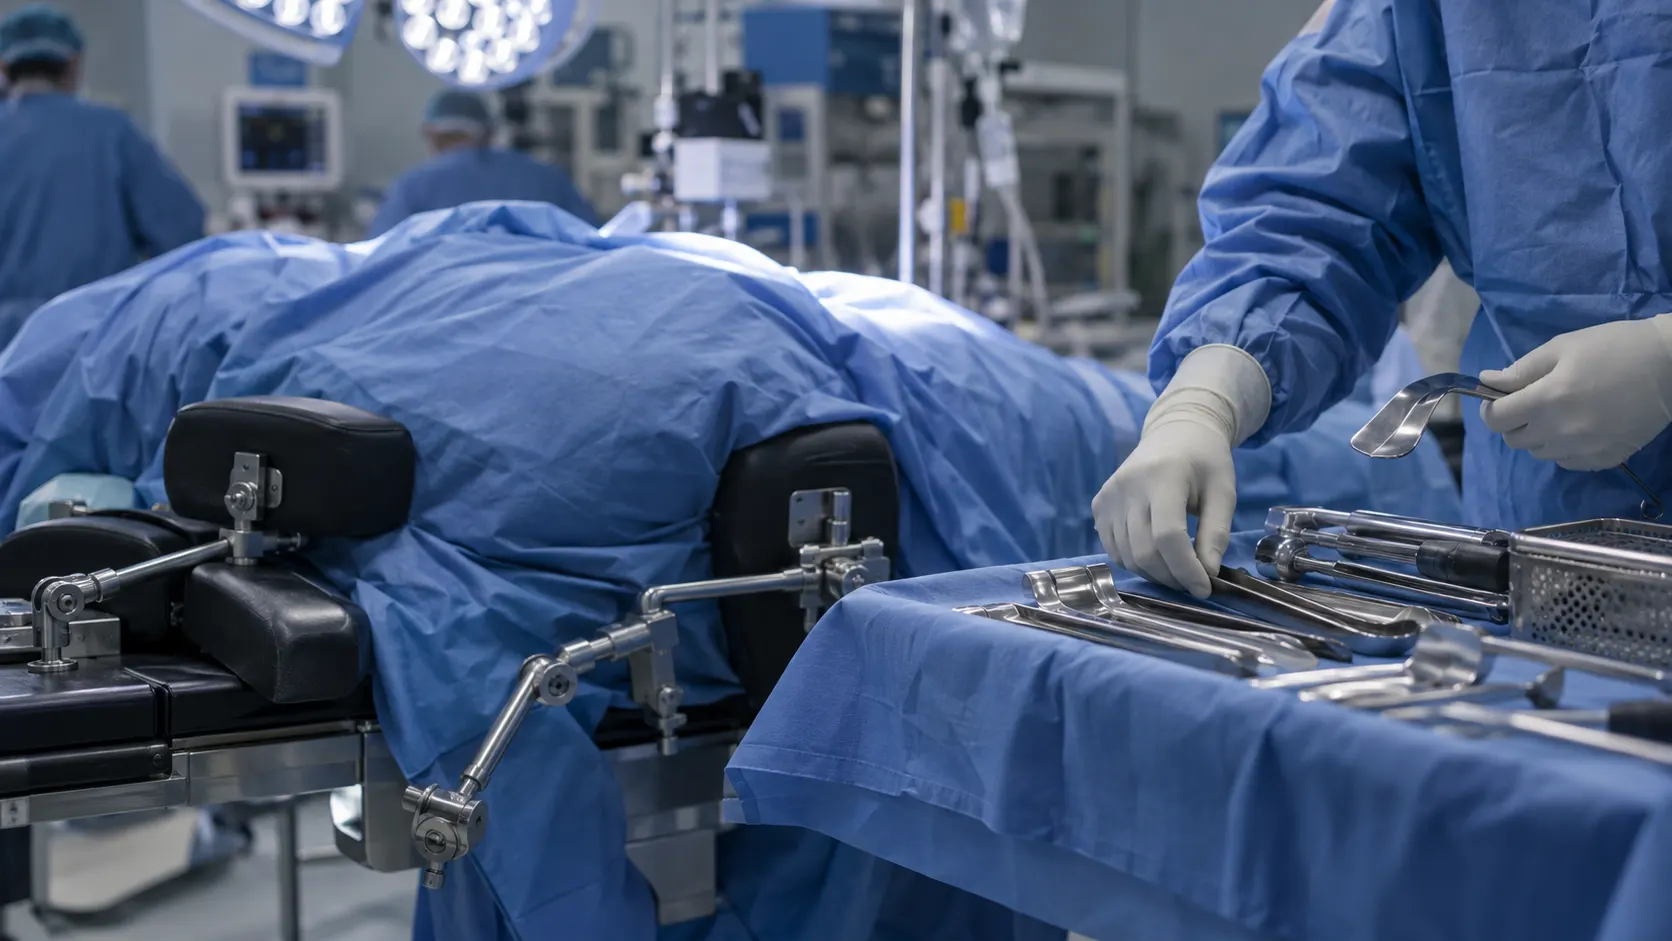
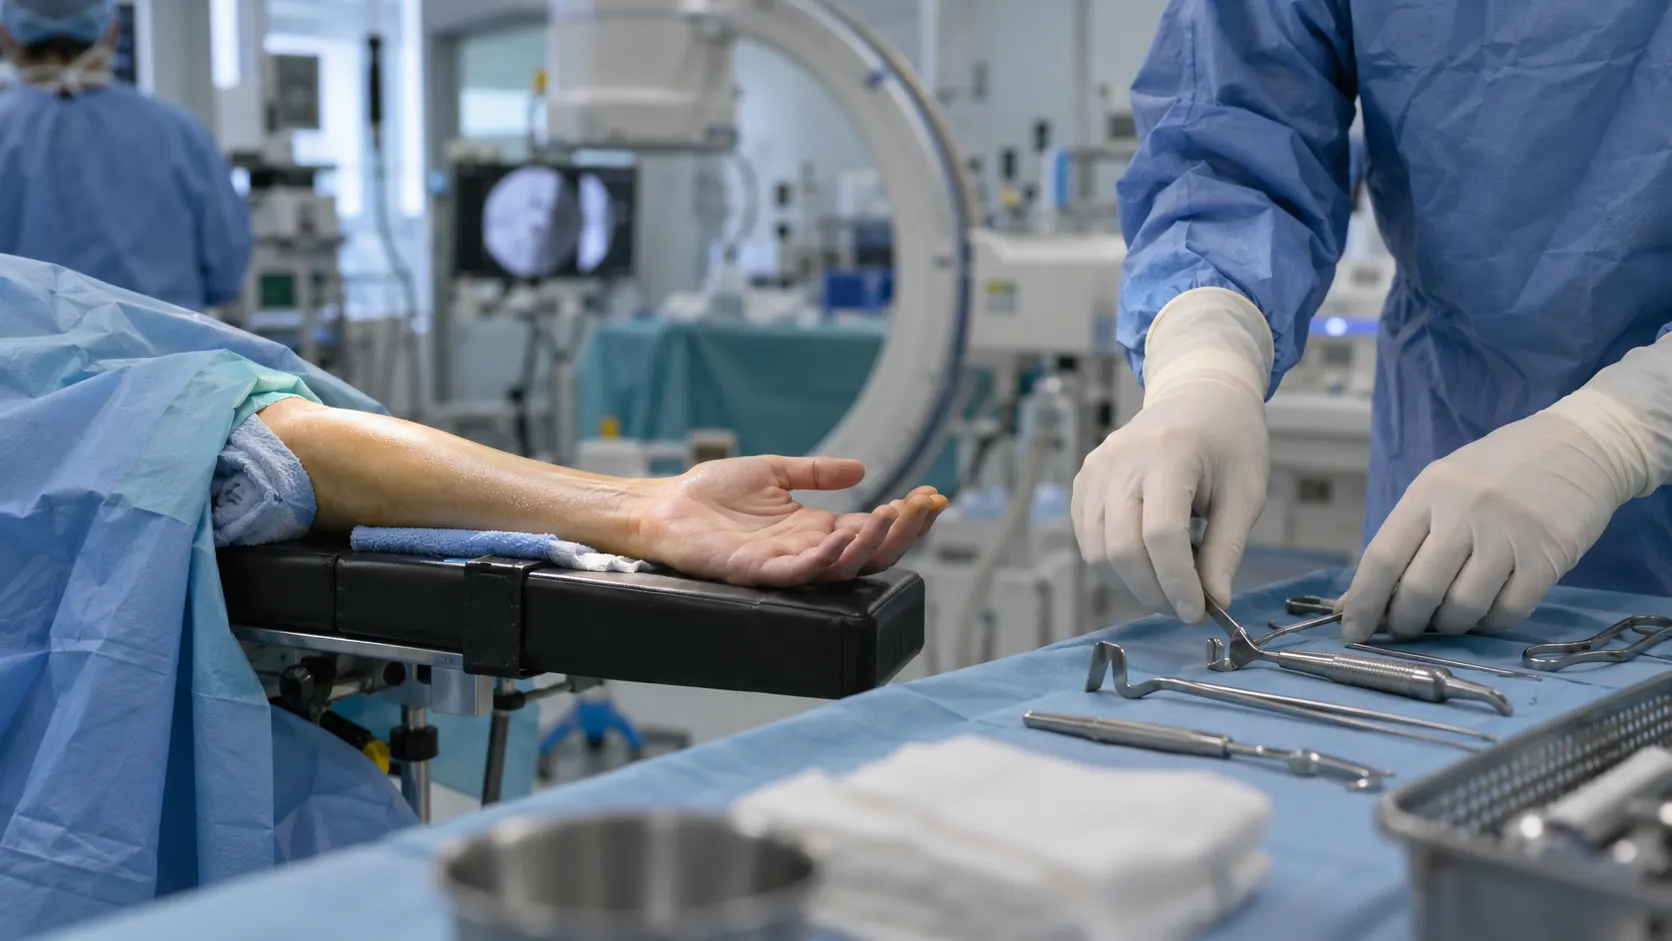
The patient lies supine with the arm out on a radiolucent hand table. The forearm must be free to rotate fully, because each level of the deep dissection uses a different rotation. Use an upper-arm tourniquet and have fluoroscopy available.
The line runs from the biceps tendon at the elbow crease, where it lies medial to brachioradialis, to the radial styloid. Open only the part over the pathology. Brachioradialis, with extensor carpi radialis longus and brevis, forms the mobile wad, palpable along the lateral side of the incision. In the subcutaneous fat proximally, find and protect the lateral antebrachial cutaneous nerve, which emerges lateral to the biceps tendon.
What is the internervous plane of the Henry approach?
A true internervous plane. Laterally lies brachioradialis, supplied by the radial nerve. Medially lies a median-nerve muscle: pronator teres in the proximal third and flexor carpi radialis (FCR) in the middle and distal thirds. Because neither side loses its nerve supply, the plane can be followed the length of the forearm. The posterior approach to the hip makes the contrast: its gluteus maximus split stays inside one nerve's territory.
The deep layer changes with the level. Proximally, supinator covers the radius, with the PIN inside it. In the middle third the radius carries the pronator teres insertion. Distally, flexor pollicis longus (FPL) and pronator quadratus cover the bone. Each layer is approached in a different rotation, and that is the part candidates forget.
How do you handle the radial artery?
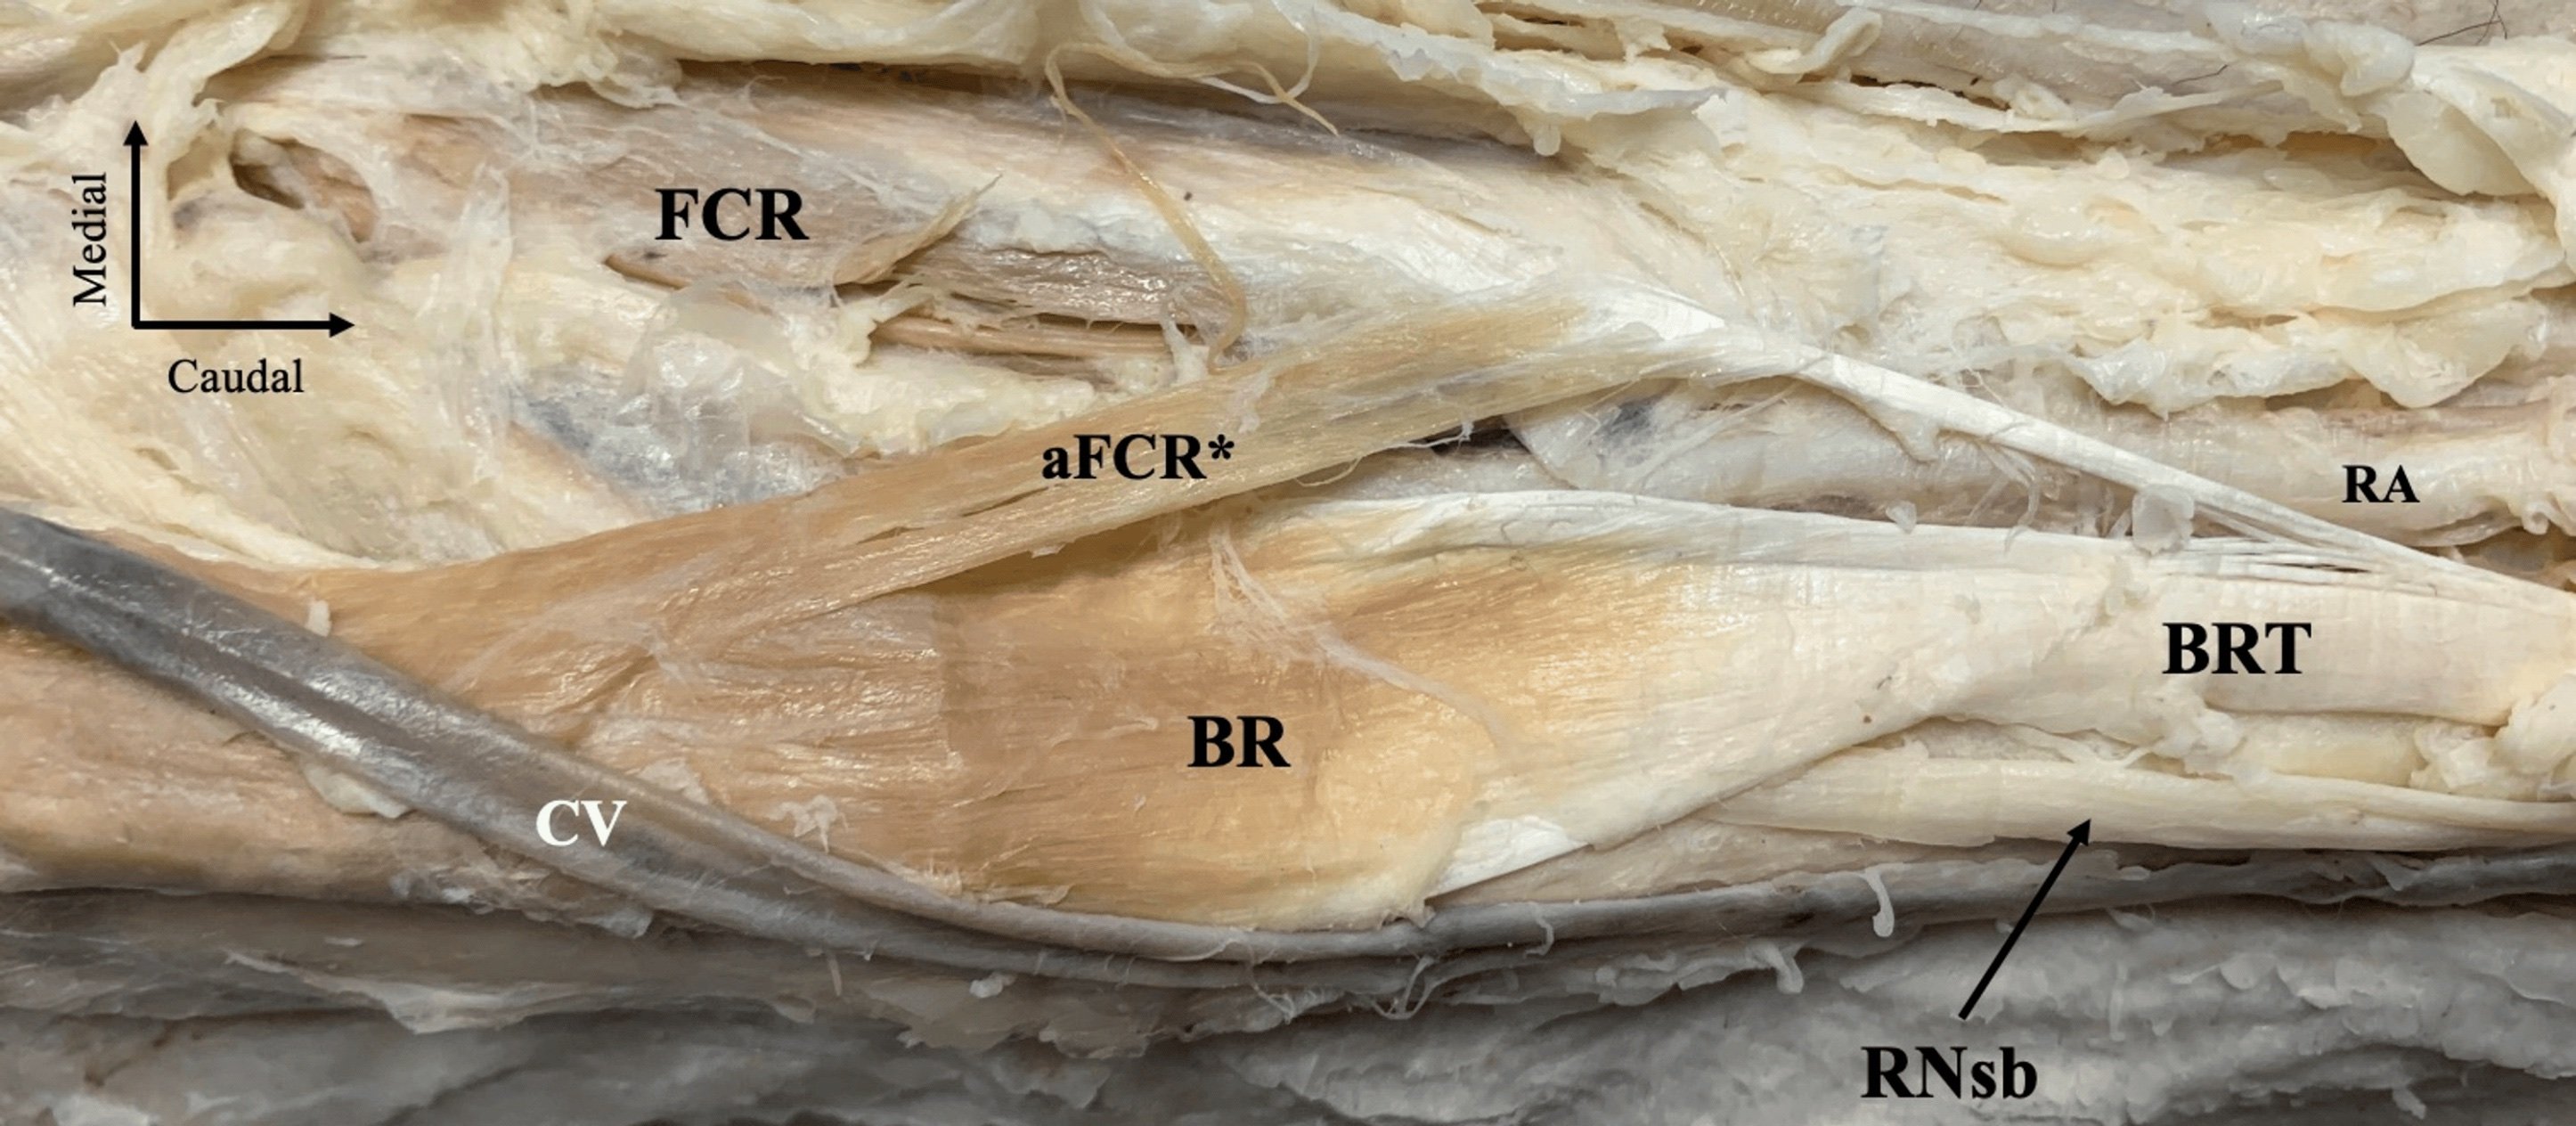
Where it is. The radial artery runs under brachioradialis, its satellite muscle, for the proximal two-thirds of the forearm. Distally it comes to lie between the tendons of brachioradialis and FCR, where it is palpated.
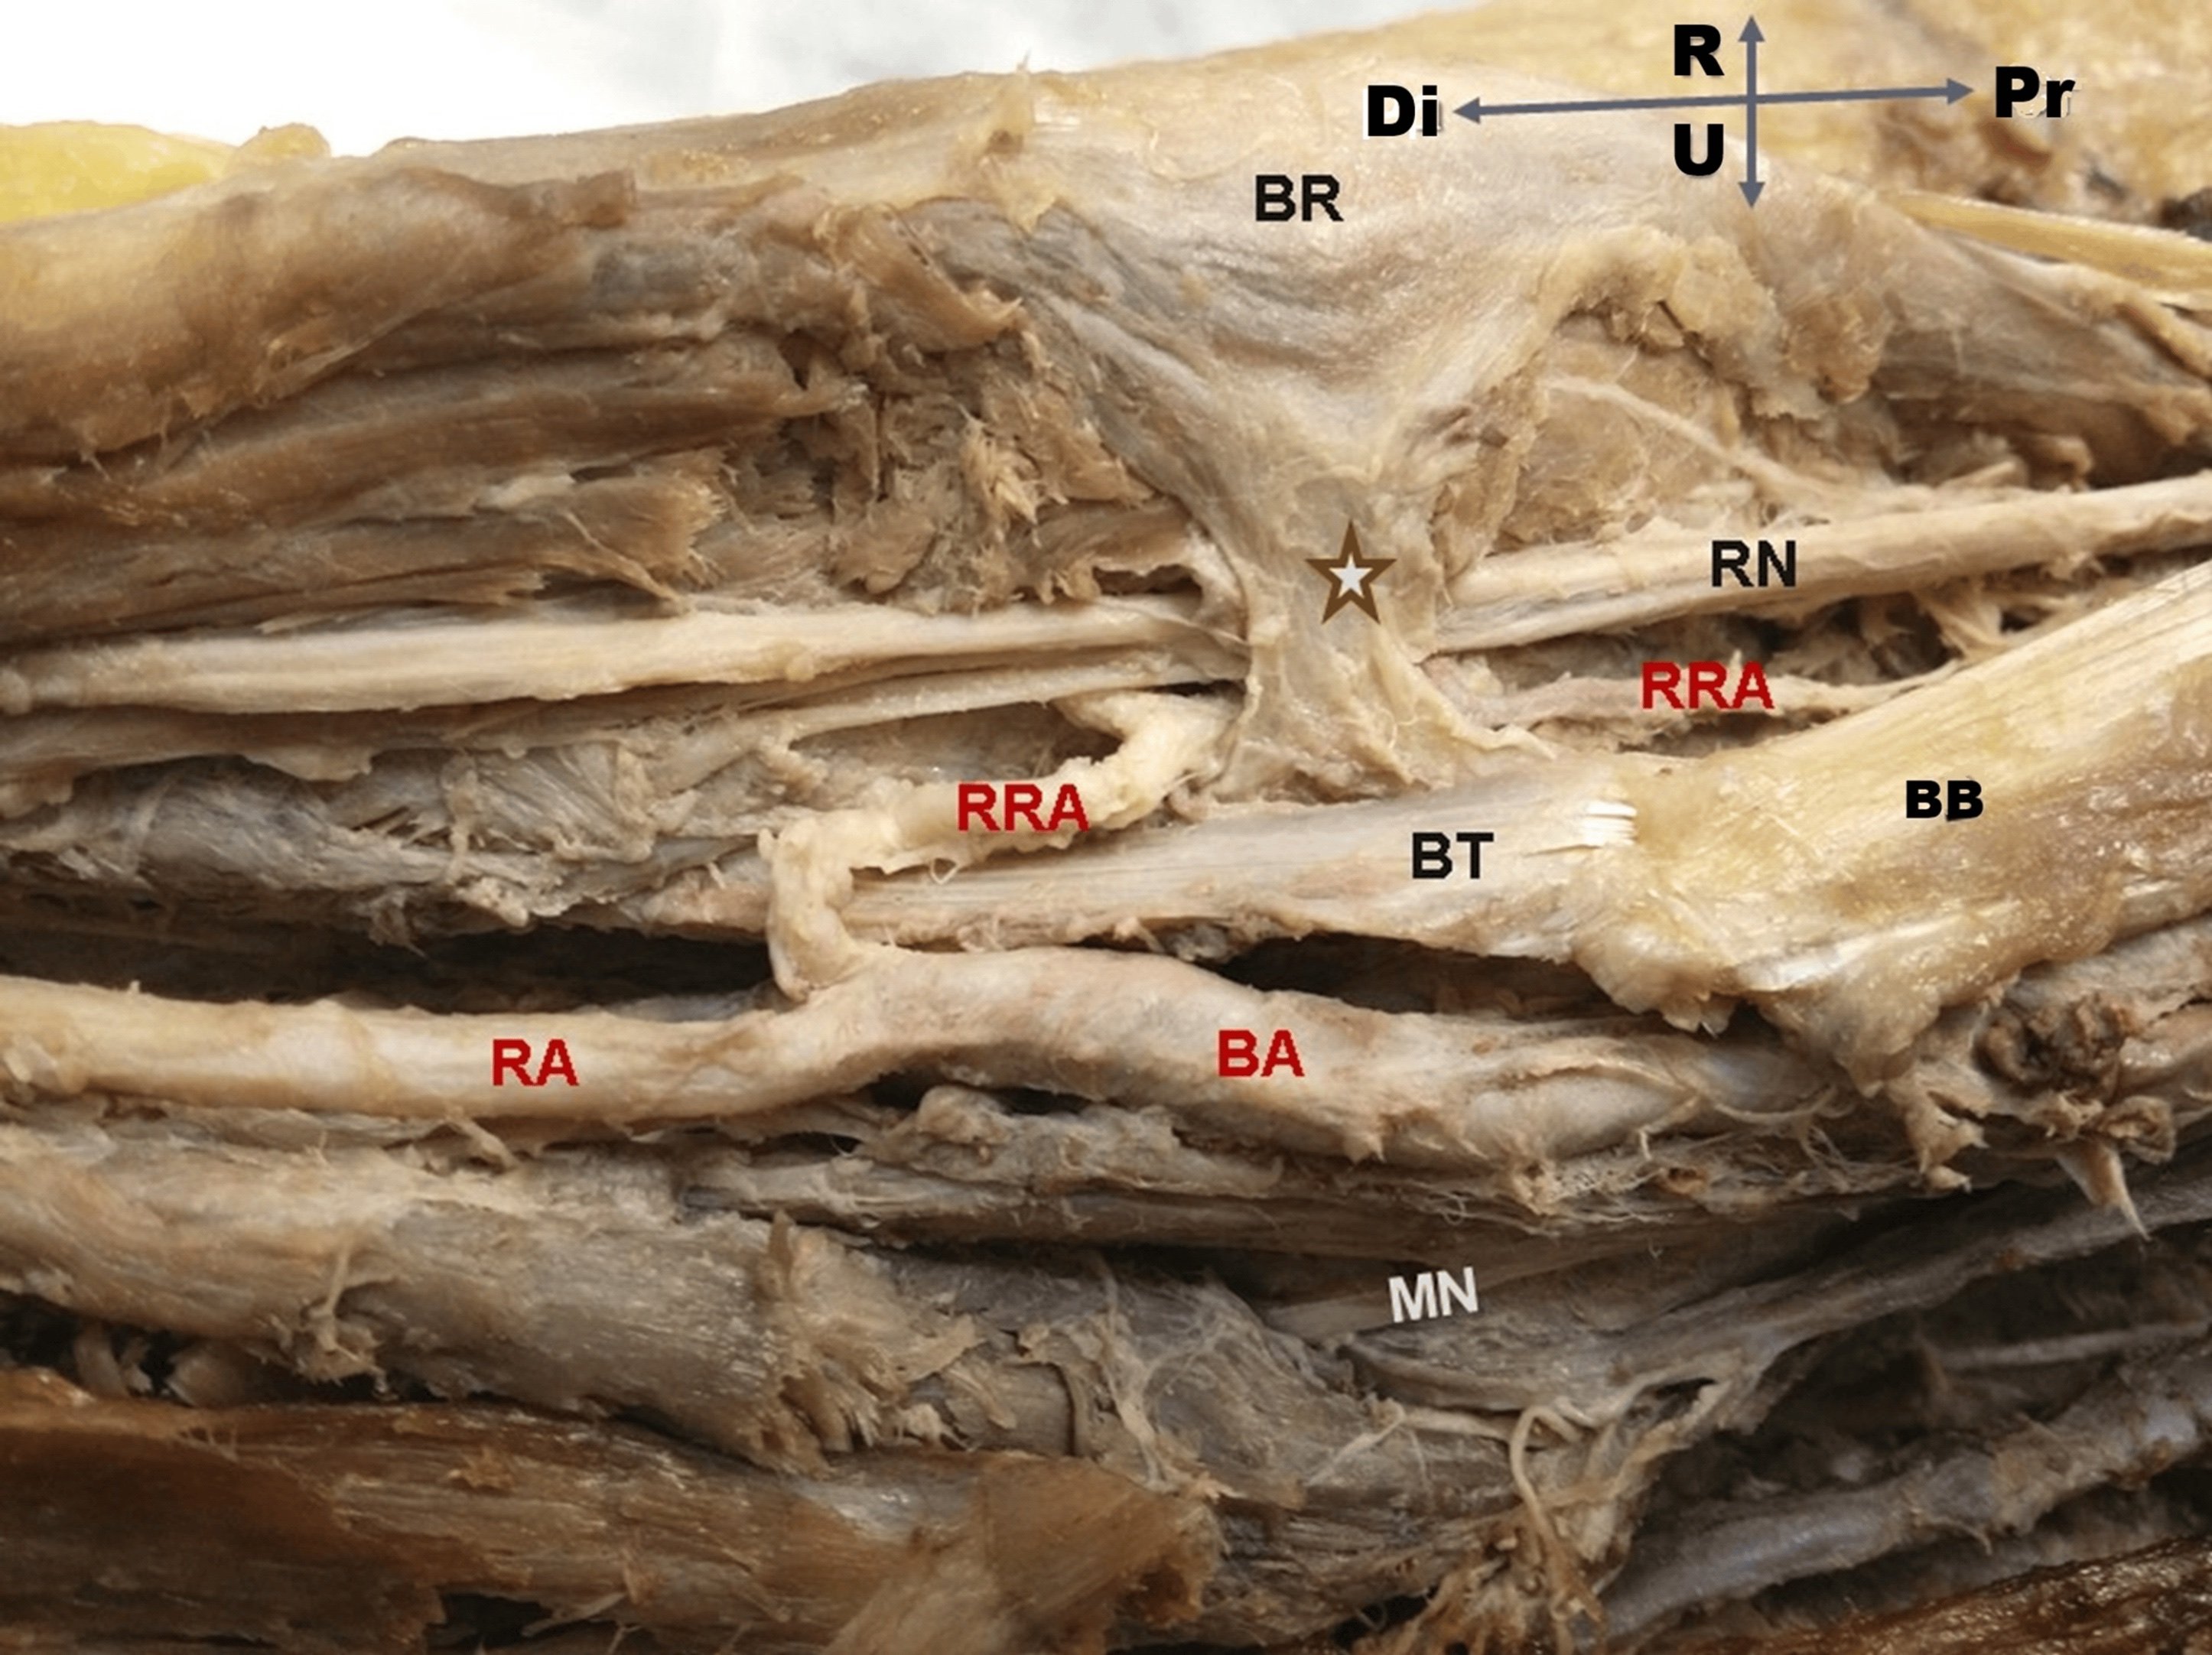
Why it will not move. Branches leave the lateral side of the artery for the mobile wad, and near the elbow the radial recurrent artery runs back to the radial collateral. The radial recurrent vessels fan across the deep branch of the radial nerve as the leash of Henry. Pass a finger under these lateral branches, ligate them, and the artery can be retracted medially with FCR. If you tear them instead, they bleed into the field where the nerve is (see forearm blood supply).
Which side you are on. In the classical approach you open the fascia between brachioradialis and the artery, then carry the artery medially. The operative guide's wording is to mobilise it bluntly, retract it medially rather than laterally, and keep retractors on bone.
If it is injured. In this elective setting, repair is the default. Ligation is a last resort, after confirming that the ulnar artery and palmar arches can supply the hand. The superficial palmar arch is complete in only about 70% of hands.
Where is the superficial radial nerve?
The superficial radial nerve is purely sensory. It runs on the deep surface of brachioradialis, lateral to the radial artery. In the middle third the two lie close together, so it is easy to catch in a clamp or under a retractor. It pierces the deep fascia between the tendons of brachioradialis and extensor carpi radialis longus a mean 7.8 cm proximal to the radial styloid (see superficial radial nerve anatomy).
Retract it laterally, with brachioradialis. The artery goes medially and the nerve goes laterally, which is how the AO reference and our 3D lesson both describe it. Do not lift the nerve off the muscle, avoid diathermy near it, and release retractor tension during long cases. Dysaesthesia over the dorsal thumb and first web is usually transient. The disabling outcome is a painful neuroma, which is why the consent should name it.
The deep dissection, level by level
| Level | Forearm position | Superficial interval | Deep step | Main structure at risk |
|---|---|---|---|---|
| Proximal third | Full supination | Brachioradialis / pronator teres | Incise supinator along its medial edge at its radial insertion; strip it laterally, subperiosteally | PIN inside supinator; radial recurrent vessels |
| Middle third | Full pronation | Brachioradialis / FCR | Expose the lateral border and insertion of pronator teres; detach only partly, keeping some insertion | Radial artery; superficial radial nerve |
| Distal third | Pronation, then supination | Brachioradialis tendon / FCR | Pronate to see the radius lateral to FCR; supinate to strip FPL and pronator quadratus as needed | Superficial radial nerve; radial artery |
This sequence follows the AO Surgery Reference, and the 3D Henry approach walkthrough shows the same steps: supinate for supinator, pronate for pronator teres, supinate again distally.
Proximal third. Supinator covers the lateral aspect of the proximal radius, and the PIN lies within it. With the forearm fully supinated, incise supinator along its most medial edge and strip it laterally off bone only as far as the plate needs. The plate goes deep to the lifted muscle, seated on bone with no soft tissue caught beneath it. If you do see the PIN, record where it lies in relation to the plate in the operation note.
Middle third. Pronation brings the pronator teres insertion round into view. Detach only what the plate requires; the AO reference advises keeping at least part of the insertion whenever possible.
Distal third. Pronation shows the bone just lateral to FCR. Supination then brings FPL and pronator quadratus into view, and both are stripped subperiosteally as needed.
How does supination protect the posterior interosseous nerve?
The radial nerve divides at about the level of the radiocapitellar joint. Its deep branch passes under the arcade of Frohse into supinator, where it becomes the PIN. It then winds round the radial neck from front to back, separated from bone only by the thin deep head of supinator (see PIN anatomy). Supination turns the anterior surface of the proximal radius towards you and carries the nerve laterally and posteriorly, inside the muscle, away from where you are working.
What the measurements show.
- Calfee (2011), 20 cadaver limbs: the PIN crossed the midline of the radius (measured along the Thompson axis) a mean 3.2 cm distal to the radiocapitellar joint in supination, 4.2 cm in neutral and 5.6 cm in pronation. A simulated proximal diaphyseal osteotomy (10 limbs) cut the movement from supination to pronation from 2.13 cm to 0.24 cm. The authors recommend seeing and protecting the nerve when the proximal radius is broken.
- Schwarz (2017), 90 cadaver limbs: the distance from the radial border of the biceps tendon to the arcade of Frohse was about 20 mm in supination and 14 mm in pronation, and the arcade lay about 25 mm from the radiocapitellar joint. The authors concluded that supinator can be detached safely in supination.
- Mekhail (1996), 30 cadaver limbs exposed through a modified anterior Henry, plates compared in 10: placing the plate laterally rather than anterolaterally carried less risk to the PIN during screw insertion and did not impinge on the biceps tendon and block pronation.
- Luthringer (2021), MRI of 13 elbows: a perpendicular trajectory from the bicipital tuberosity passed a mean 9.0 mm from the PIN in supination, against 4.7 mm in neutral and 2.0 mm in pronation. This is a distal biceps study, but its warning applies here as well: the authors considered PIN injuries during anterior repair likely to result from misplaced retractors, and advised against retractors deep to the radial neck.
The practical rules. Record finger and thumb extension before surgery. Supinate before cutting supinator. Stay subperiosteal on the anterior radius, and never cut into the muscle belly from the front. Keep Hohmann retractors off the back of the radial neck, where they can crush the nerve against bone. In a displaced proximal fracture, assume rotation will not protect the nerve, and find it.
Recognising a palsy. PIN palsy causes finger and thumb drop with wrist extension preserved and no sensory loss, because the nerve supplies no skin. A palsy present before surgery may be observed. A palsy that is new after surgery is different: transection, suture entrapment and retractor crush are all possible, and the PIN anatomy page advises early exploration, within days, rather than three months of observation.
One principle, two rotations. The posterolateral approach uses the opposite rotation. Through a posterolateral exposure between anconeus and extensor carpi ulnaris (32 cadaver specimens), Diliberti found that pronation gave an average safe zone of 52.0 mm distal to the radiocapitellar joint and supination only 33.4 mm. Rotate the nerve away from the side you are working on. (Schwarz extended the supination advice to the Thompson approach as well, against the usual teaching to pronate for dorsal and posterolateral approaches. On the dorsal side, find the nerve rather than rely on rotation.)
Classical Henry or modified Henry: which side of the artery?
At the wrist the eponym covers two different intervals, and examiners use the difference as a trap.
| Classical Henry (distal third) | Modified Henry / FCR approach | |
|---|---|---|
| Interval | Brachioradialis and the radial artery | FCR tendon and the radial artery, through the floor of the FCR sheath |
| Artery | Mobilised and retracted medially | Stays lateral, retracted with brachioradialis |
| Internervous? | Yes (radial / median) | No: a tendon-artery interval |
| Closest structure at risk | Superficial radial nerve; radial artery | Palmar cutaneous branch of the median nerve |
| Typical use | Distal shaft and extensile exposure from the shaft | Distal radius fractures and malunion |
The volar approach to the distal radius is the modified Henry. In McCann's dissection of ten fresh-frozen limbs, measured from the FCR tendon at the watershed line, the palmar cutaneous branch of the median nerve lay a mean 3.4 mm away, the radial artery 7.8 mm, the median nerve 8.9 mm and the superficial radial nerve 24.4 mm. The paper itself calls this "the Henry approach", and a 2025 review of volar approaches argues that Henry's own writing describes the artery-FCR interval. The safe answer is to name the interval rather than the surgeon.
The distal end brings one more hazard: the watershed line. In Soong's series, a plate sitting on or distal to the volar rim was present in 2 of 3 flexor tendon ruptures, and a lower-profile plate group with no such prominence had no ruptures. The distal radius detail is on the distal radius fractures page, and the operative decision in older patients is covered in our post on distal radius fractures in older adults.
Henry or Thompson for the radial shaft?
Both are true internervous approaches. The Thompson approach runs between extensor carpi radialis brevis and extensor digitorum communis; it avoids the radial artery but passes the PIN, which must be found if the exposure goes beyond the proximal safe zone. Cross and colleagues compared the two in ten cadaver limbs and found no significant difference in the area of proximal radius exposed.
The Henry approach wins on reach: it extends to the distal metaphysis, while the Thompson approach gives poor distal access. Thompson is chosen for open fractures with volar contamination and for primary PIN exploration.
In a both-bone fracture. Fix the radius through the Henry approach and the ulna through a separate subcutaneous-border incision. Keep the two fields apart and do not dissect across the interosseous membrane, because single-incision exposure of both bones is a recognised risk factor for radioulnar synostosis. In Nappo's series of 73 high-energy open forearm fractures in military patients, synostosis developed in 19%. It was the main cause of lost rotation: the arc was 40° ± 40° with synostosis against 140° ± 35° without heterotopic ossification.
Restore the bow. Schemitsch and Richards followed 55 adults after plating of both-bone fractures. Restoring the normal amount and location of the radial bow was associated with a good functional result (more than 80% of normal rotation), and restoring its location with recovery of grip strength. The approach is the route to that reduction; the plate is a 3.5 mm compression or locking plate with at least six cortices each side of the fracture, as described in the both-bone forearm ORIF operative guide.
Closure and the swollen forearm
Reattach pronator quadratus where it will reach. Apart from that, the AO reference leaves the anterior deep tissues unrepaired. Check perfusion, and check that the plate and forearm rotation do not trap or tension a nerve, before closing. If swelling makes skin closure tight, leave the wound open for staged closure rather than force it. A volar forearm fasciotomy uses an extended Henry-type or curvilinear volar incision, covered in our compartment syndrome guide.
In the exam
Examiners want the plane at each level, the forearm rotation for each step, and the three structures with what you do for each. The Henry approach operative guide has the full sequence and viva scenarios.
Frequently asked questions
What is the internervous plane of the Henry approach?
Brachioradialis, supplied by the radial nerve, laterally, against muscles supplied by the median nerve medially: pronator teres in the proximal forearm and flexor carpi radialis in the middle and distal forearm. No muscle is denervated, which is why the approach can be extended along the whole radius. The deep layer changes with the level: supinator proximally, the pronator teres insertion in the middle, then flexor pollicis longus and pronator quadratus distally.
How do you protect the posterior interosseous nerve in the Henry approach?
Fully supinate the forearm before dividing supinator, which moves the nerve laterally and posteriorly away from the field. Incise supinator at its medial edge where it inserts on the radius, lift it subperiosteally only as far as the plate needs, and keep retractors off the back of the radial neck. In a displaced proximal fracture, rotation moves the nerve much less, so identify and protect it directly.
What is the difference between the Henry and the modified Henry approach?
The classical Henry approach goes between brachioradialis and the radial artery, so the artery is mobilised and retracted medially. The modified Henry, or FCR, approach to the distal radius goes through the floor of the FCR sheath, between the FCR tendon and the radial artery, so the artery stays lateral. The modified approach is a tendon-artery interval rather than a true internervous plane, and the palmar cutaneous branch of the median nerve is the closest structure at risk.
Which structures are at risk in the Henry approach to the radius?
The radial artery, which lies under brachioradialis and is tethered by its recurrent branches; the superficial radial nerve, which runs on the deep surface of brachioradialis lateral to the artery; and the posterior interosseous nerve, which winds round the radial neck inside supinator. The lateral antebrachial cutaneous nerve is at risk in the subcutaneous fat proximally, and the palmar cutaneous branch of the median nerve if the dissection is carried ulnar to FCR at the wrist.
Should a radial shaft fracture be fixed through a Henry or a Thompson approach?
Either can work. The Henry approach reaches the whole radius, including the distal third, and keeps the radial exposure well apart from the ulnar incision in a both-bone fracture. The Thompson approach avoids the radial artery but runs past the posterior interosseous nerve, which must be found once the exposure goes beyond the proximal safe zone. A cadaver study found no significant difference in the area of proximal radius each approach exposed.
References
- Bartoníček J, Naňka O. History of surgical approaches in orthopaedics. Int Orthop 2025;49(6):1537-1541. DOI (opens in a new tab)
- Calfee RP, Wilson JM, Wong AH. Variations in the anatomic relations of the posterior interosseous nerve associated with proximal forearm trauma. J Bone Joint Surg Am 2011;93(1):81-90. DOI (opens in a new tab)
- Mekhail AO, Ebraheim NA, Jackson WT, Yeasting RA. Anatomic considerations for the anterior exposure of the proximal portion of the radius. J Hand Surg Am 1996;21(5):794-801. DOI (opens in a new tab)
- Schwarz AM, Hohenberger GM, Weiglein AH, Riedl R, Staresinic M, Grechenig S. Avoiding radial nerve palsy in proximal radius shaft plating - a cadaver study. Injury 2017;48 Suppl 5:S34-S37. DOI (opens in a new tab)
- Luthringer TA, Bloom DA, Klein DS, et al. Distance of the posterior interosseous nerve from the bicipital (radial) tuberosity at varying positions of forearm rotation: a magnetic resonance imaging study with clinical implications. Am J Sports Med 2021;49(5):1152-1159. DOI (opens in a new tab)
- Diliberti T, Botte MJ, Abrams RA. Anatomical considerations regarding the posterior interosseous nerve during posterolateral approaches to the proximal part of the radius. J Bone Joint Surg Am 2000;82(6):809-813. DOI (opens in a new tab)
- Cross JD, White JA, Johnson AE, Blair JA, Hsu JR. Comparison of dorsal and volar approaches to the proximal radius. Orthopedics 2011;34(2):93. DOI (opens in a new tab)
- McCann PA, Clarke D, Amirfeyz R, Bhatia R. The cadaveric anatomy of the distal radius: implications for the use of volar plates. Ann R Coll Surg Engl 2012;94(2):116-120. DOI (opens in a new tab)
- Kunc V. Volar approaches to the distal radius. Rozhl Chir 2025;104(8):326-331. DOI (opens in a new tab)
- Soong M, Earp BE, Bishop G, Leung A, Blazar P. Volar locking plate implant prominence and flexor tendon rupture. J Bone Joint Surg Am 2011;93(4):328-335. DOI (opens in a new tab)
- Schemitsch EH, Richards RR. The effect of malunion on functional outcome after plate fixation of fractures of both bones of the forearm in adults. J Bone Joint Surg Am 1992;74(7):1068-1078. PubMed (opens in a new tab)
- Nappo KE, Hoyt BW, Balazs GC, et al. Union rates and reported range of motion are acceptable after open forearm fractures in military combatants. Clin Orthop Relat Res 2019;477(4):813-820. DOI (opens in a new tab)
Study the full topic
Included in Pro
Go deeper with Pro
- Operative guide: anterolateral (Henry) approach to the radius
- Operative guide: volar (FCR) approach to the distal radius
- 3D anatomy: Henry anterior approach walkthrough
Share this article
Cite this article
OrthoVellum Editorial Team. The Henry Approach to the Radius, Step by Step: Planes, PIN and Radial Artery [Internet]. OrthoVellum; 2026 Nov 9 [cited 2026 Nov 9]. Available from: https://www.orthovellum.com/blog/henry-approach-radius
About this content
Prepared by the OrthoVellum Editorial Team from cited sources, under our editorial policy.
For education and exam preparation; not medical advice or a substitute for clinical judgement and local guidance.
Spotted an error? Tell us; every report is read.
Get new articles by email
New clinical explainers, landmark-trial summaries and exam guidance from the OrthoVellum blog. No account needed; unsubscribe from any email.